In order to participate in the metaverse economy, it is essential to begin by setting up a crypto wallet. A crypto wallet is like a secure key for all of your web3 assets. Among other crypto wallets that are available on the internet, MetaMask is one of the most popular ones as it is very easy to set up and use. Here’s how you do it.
What is MetaMask?
Before, we go through setting up a MetaMask wallet, first, let’s learn about what exactly is MetaMask. To put it simply, it is a software cryptocurrency wallet used to interact with the Ethereum blockchain. It allows users to access their Ethereum wallet via a browser extension or mobile app that can then be used to interact with decentralized apps.
Now, let’s learn how to setup your first MetaMask account.
Setting Up MetaMask Account on Chrome
Currently, available browsers for MetaMask are Chrome, Firefox, Brave, Edge, and Opera. In this article, we’ll show you how to set it up on Chrome, but it isn’t much different to other browsers.
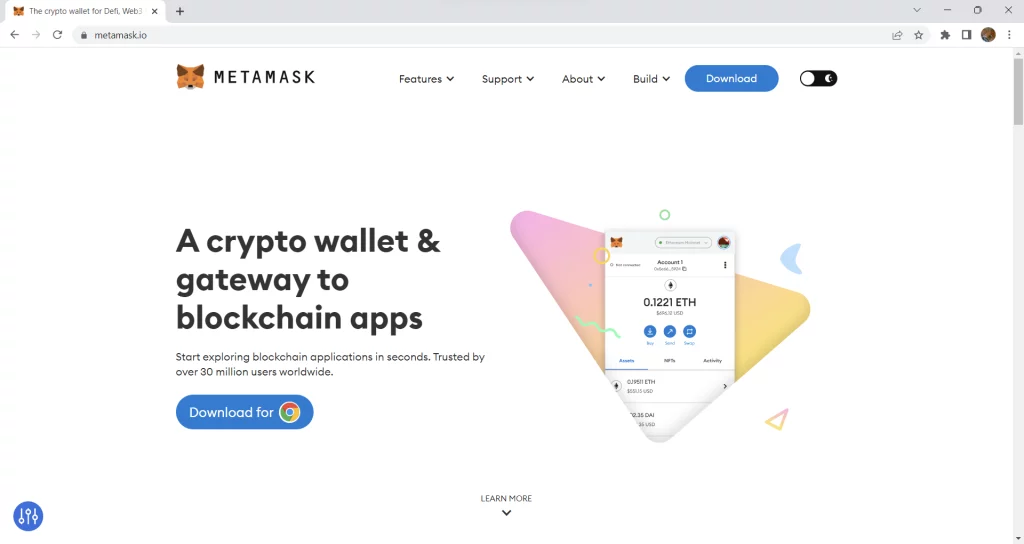
1. Go to the Metamask website (https://metamask.io/) and click on the “Download for Chrome” button to download and install the Metamask Chrome Extension.
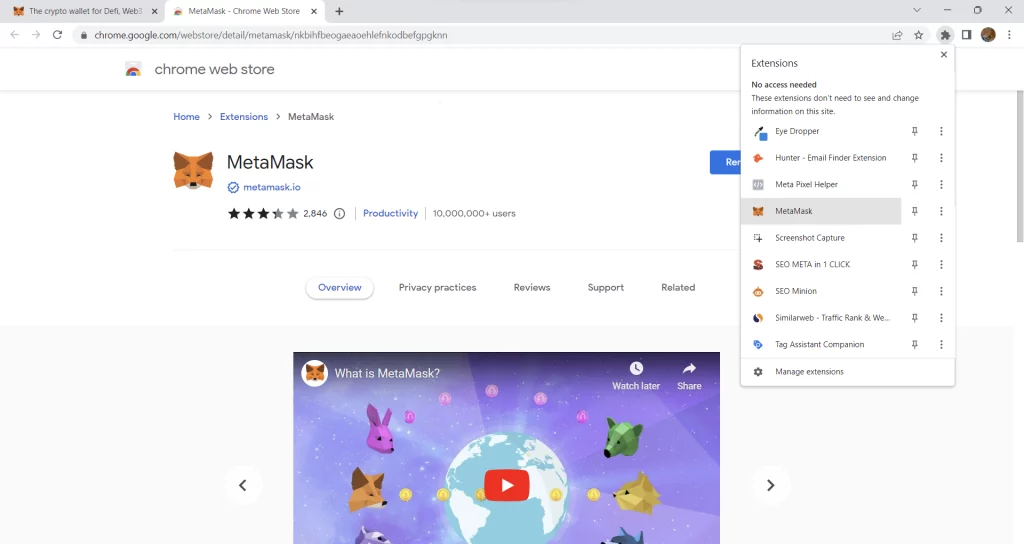
2. Once the extension is installed, click on the Metamask icon in the top-right corner of your browser to open the extension.
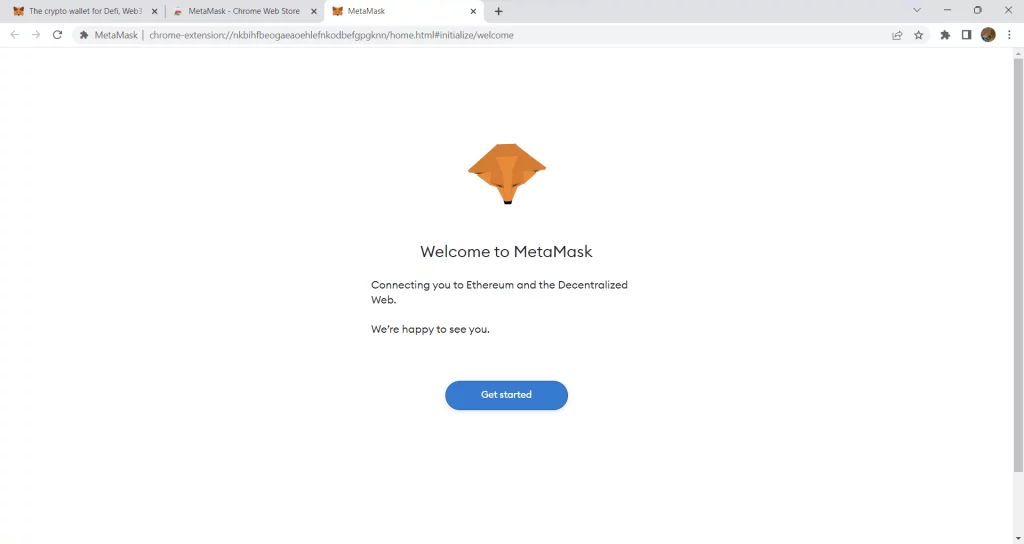
3. Click on the “Get started” button to start the account creation process.
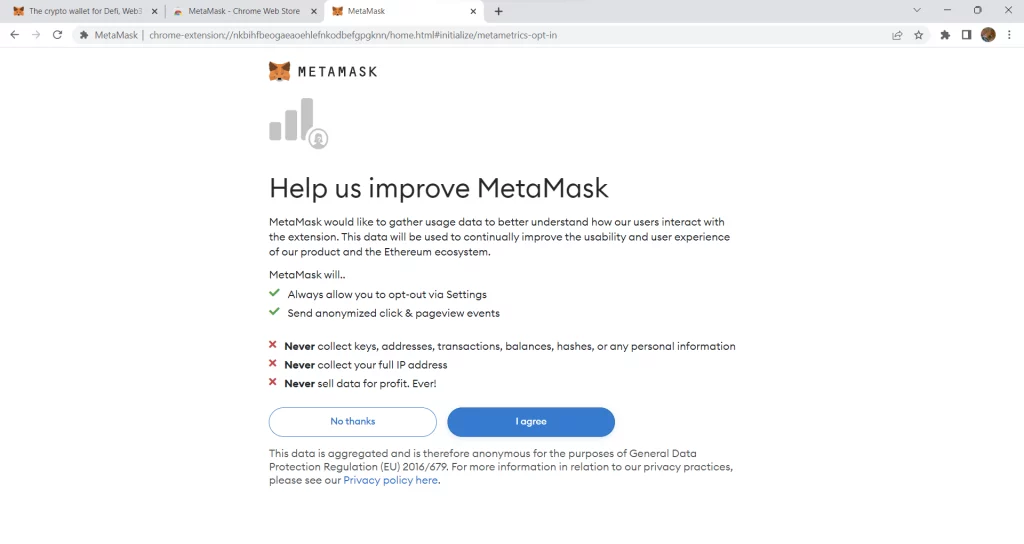
4. You can choose whether you let MetaMask gather usage data or not.
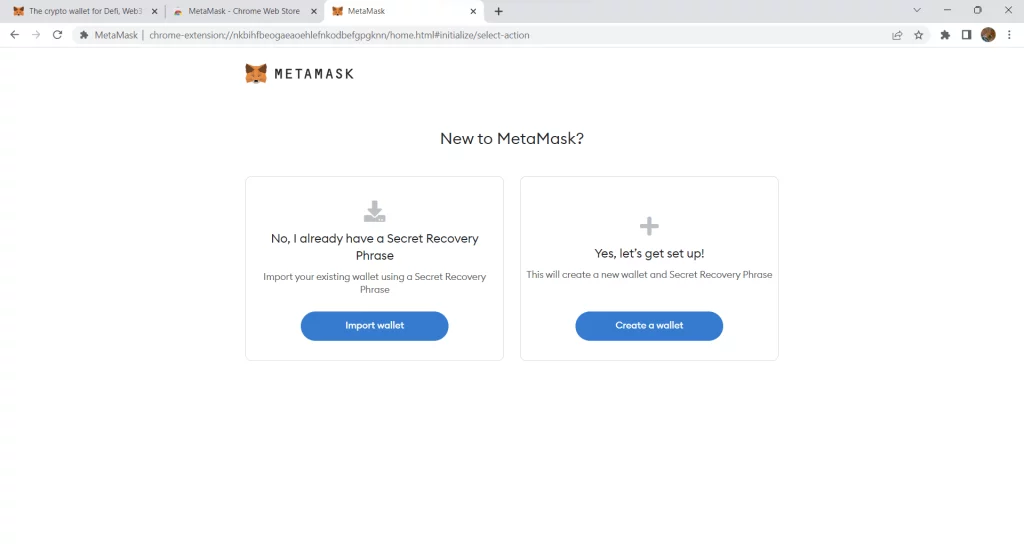
5. Click on the “Create a wallet” button.
6. Create a password for your account, tick Terms of use box, and click on the “Create” button.

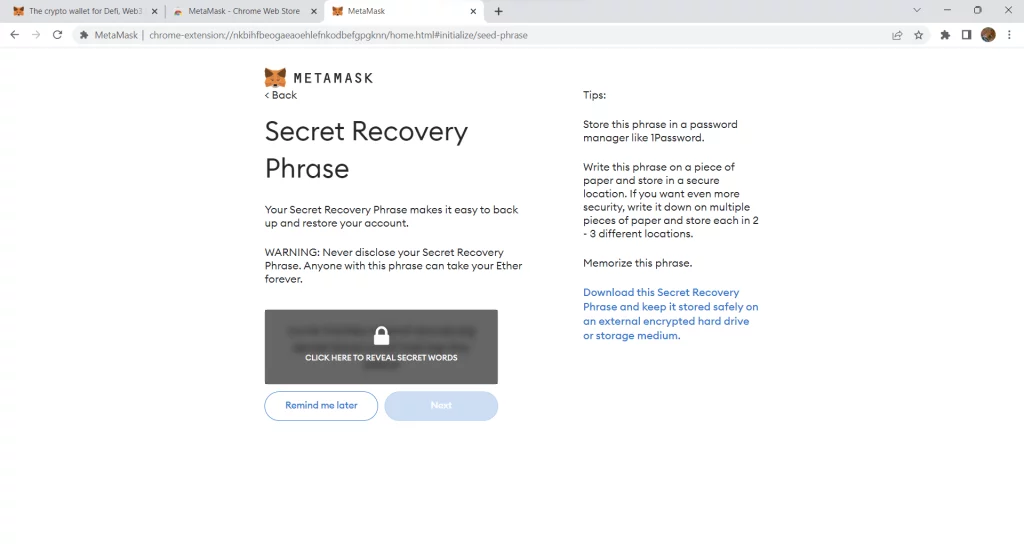
7. Securely write down the seed phrase and store it in a safe place. You will use this phrase to restore your account if you ever lose access to it.
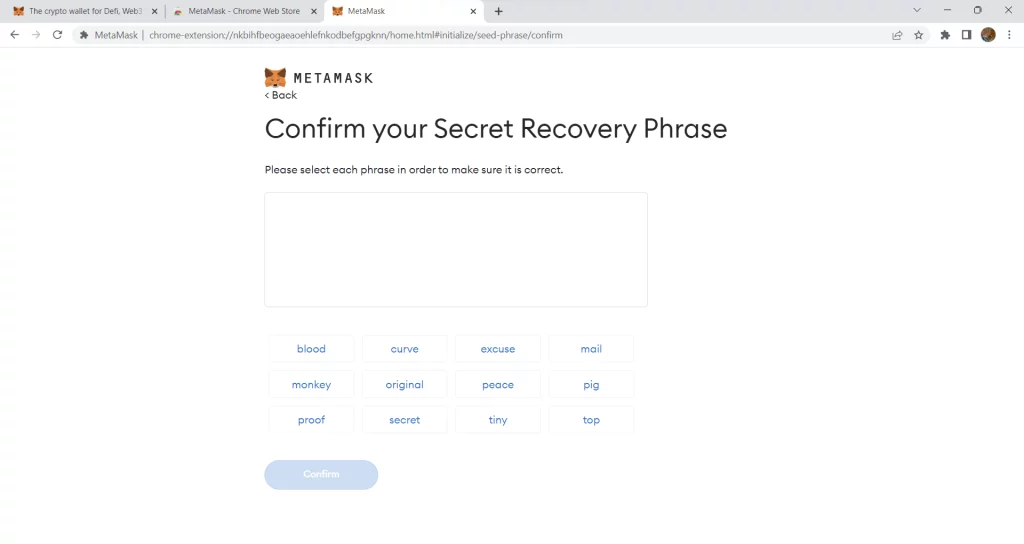
8. Select each phrase in order to make sure it is correct and confirm the seed phrase by clicking on the “Confirm” button.
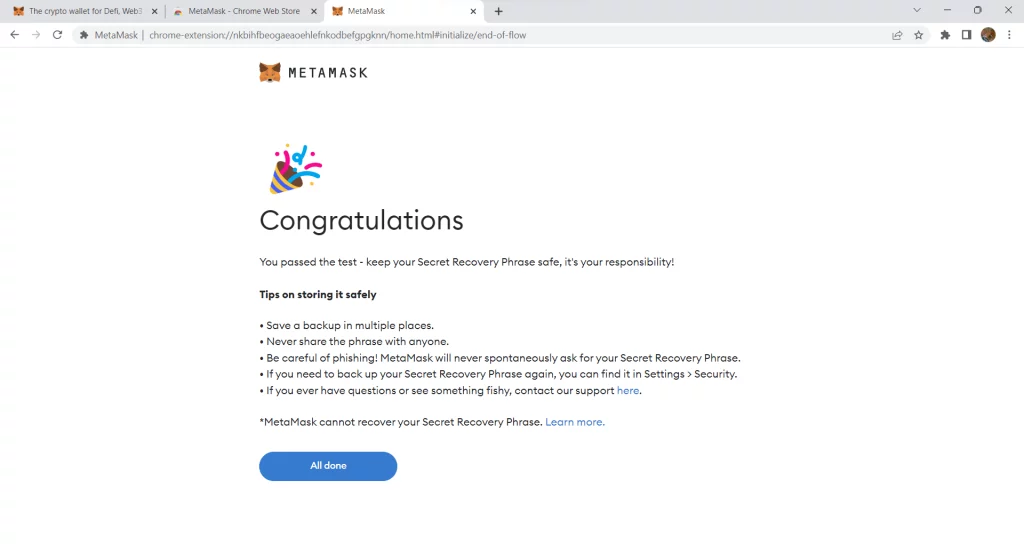
9. Your Metamask account is now created. Click “All done”!
10. Now you can use Metamask to connect to the Ethereum network and interact with decentralized applications (dApps) and smart contracts on the Ethereum blockchain.
That’s basically it, very simple. Hope you find this article helpful and good luck on your Web3 endeavor!